.jpg)
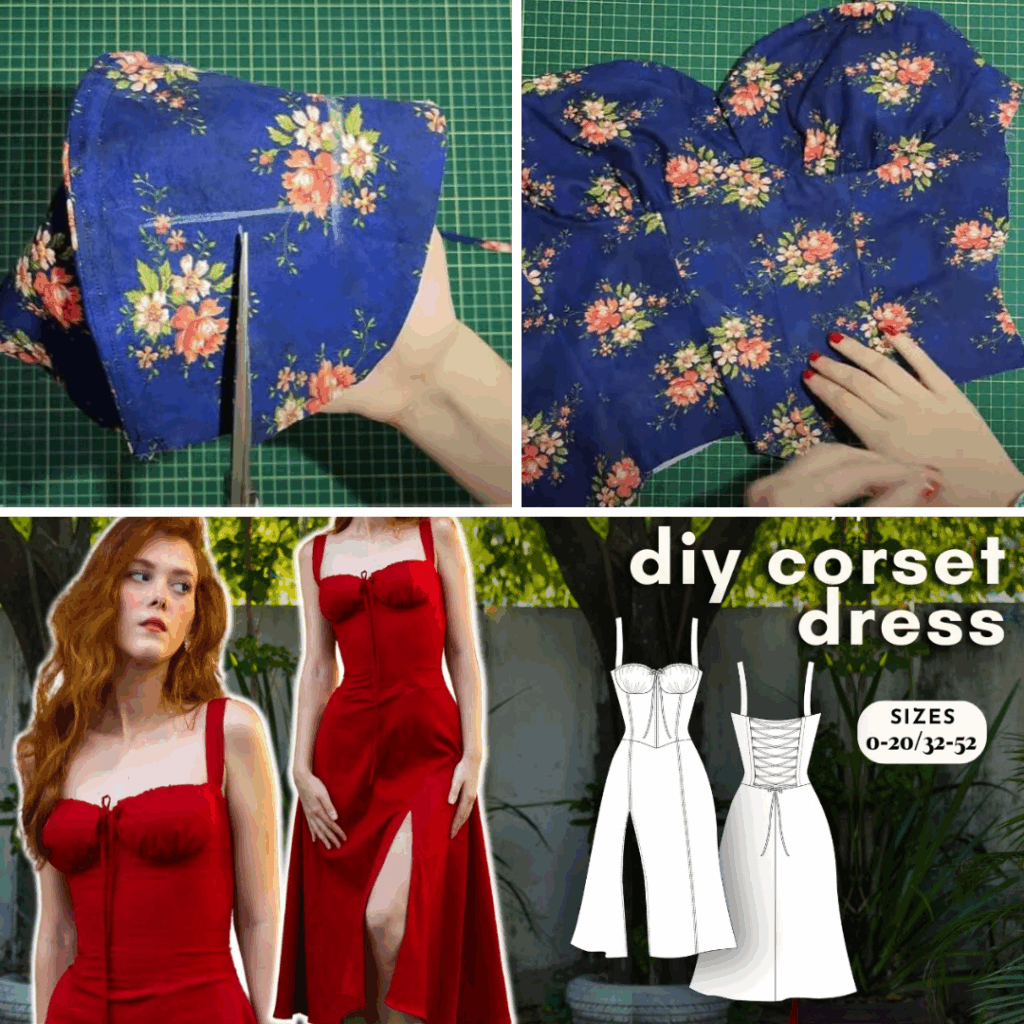
The Anatomy of a Cottagecore Corset Dress
Before you begin, it’s helpful to understand the key components that define this specific dress style:
- The Structured Bodice: This is the defining feature. It’s fitted and often features panel lines for shaping. While a true corset has steel boning and heavy lacing, a modern Cottagecore version can achieve the structured look with plastic boning (lighter and easier to sew) or simply through a well-fitted lining and a firm fabric. The neckline is typically a square or sweetheart shape to emphasize the décolletage.
- The Voluminous Skirt: This is where the "cottage" part comes in. The skirt is almost always gathered to create a full, bouncy look. It can be a single gathered tier or multiple tiers for extra volume and a layered effect.
- The Signature Sleeves: Think romantic puff sleeves that sit off-the-shoulder, or short, elasticated sleeves that create a whimsical, billowy shape. Many designs also feature delicate ruffle straps or are made sleeveless for a summery feel.
- The Closure: A classic corset dress uses lacing with grommets or eyelets for a dramatic, adjustable fit. A more beginner-friendly option is a zipper (like an invisible zipper) or elastic shirring at the back of the bodice.
Choosing Your DIY Path: Faux vs. Structured
You don't need to be a corsetry expert to sew this dress! Here are a few paths you can take, from beginner to intermediate.
Level 1: The "Faux" Corset Dress (Beginner-Friendly)
This method gives you the aesthetic without the boning. It relies on a well-drafted pattern and careful fitting.
- Bodice: Use a fitted bodice pattern with a lining and maybe a zipper or shirring at the back.
- Structure: Achieve a structured look by using a sturdy fabric like cotton canvas or linen and a firm interfacing on the bodice pieces.
- Look: It will have the silhouette and style of a corset dress but will be much more comfortable and easier to sew.
Level 2: The "Structured" Corset Dress (Intermediate)
This is for sewists who want more structure and a classic corset feel.
- Bodice: You will need a pattern with specific boning channels marked.
- Structure: You will sew channels from fabric scraps or bias tape and insert either plastic or spiral steel boning. You'll also learn to install grommets for a laced back.
- Result: A more rigid, supportive, and adjustable bodice.
Level 3: The "Upcycle" Method (Creative & Sustainable)
For the eco-conscious or budget-savvy sewist, you can repurpose existing items.
- Bodice: Upcycle a structured top, a denim vest, or even the top of a store-bought dress.
- Skirt: Use a large tablecloth, bedsheet, or curtains in a charming floral or gingham print to create the gathered skirt.
Essential Materials & Tools
Before you start sewing, gather all your supplies.
- Sewing Pattern: Find a PDF or commercial pattern specifically for a corset bodice dress. There are many independent designers who offer great patterns.
- Fabric:
- Main Fabric: 2-4 yards of a woven, non-stretch fabric like linen, cotton poplin, quilting cotton, or gingham. Look for charming floral prints!
- Lining Fabric: 1-2 yards of a lightweight cotton or polyester lining for the bodice.
- Structure Materials (for Level 2):
- Boning: Plastic boning (easy to cut and sew) or spiral steel boning (more flexible and durable).
- Grommets/Eyelets: For a lace-up back. You'll need a grommet setting tool.
- Cording/Ribbon: For the lacing.
- Closure: A 12-16 inch invisible zipper is a great beginner-friendly option.
- Notions: Matching thread, sharp scissors, sewing machine needles (size 80/12 is a good all-purpose size), pins or sewing clips, and an iron.
- Elastic: For sleeves and/or a shirred back.
The Construction Journey: A Step-by-Step Guide
Follow these steps to construct your dress, referring to your chosen pattern for specific details and seam allowances.
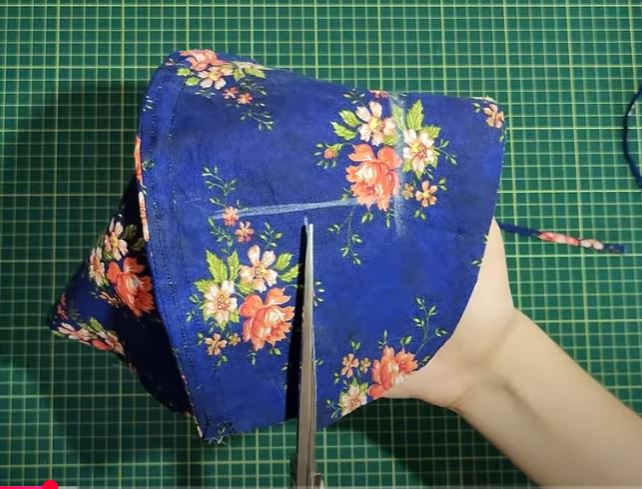
Step 1: Prep and Cut
First, pre-wash and dry all your fabric to prevent future shrinkage. Then, assemble your PDF pattern pieces and cut out all your fabric and lining pieces. Don’t forget to transfer any markings for boning channels or darts.
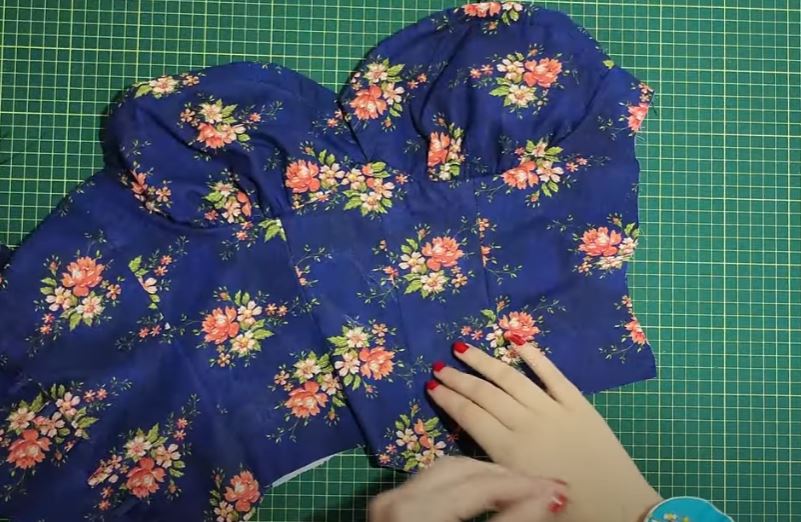
Step 2: Construct the Bodice
Sew the main bodice pieces together at the designated seams (e.g., princess seams, side seams). Sew the lining pieces together in the same way. Press your seams flat! If you are using boning, create the boning channels and insert the boning now. Attach the lining to the main bodice along the neckline and front opening, and then turn it right side out. Understitch the neckline for a crisp, clean finish.
Step 3: Sew and Attach the Sleeves
Hem the sleeve cuffs and create a channel for a piece of elastic. Gather the top of the sleeves to fit the bodice armhole and sew them in place. If you're doing an off-the-shoulder style, you might attach elastic to the neckline and armhole for a secure fit.
Step 4: Prepare the Skirt
Sew the skirt panels together at the side seams. Finish the raw edge of the top of the skirt with a zigzag or serger stitch. Use your chosen method (basting stitches, elastic) to create gathers along the waistline. Pull the threads until the gathered skirt fits the bottom of the bodice.
Step 5: Join the Bodice and Skirt
Pin the gathered skirt to the bodice, matching the side seams. Evenly distribute the gathers and stitch the skirt to the bodice. Reinforce this seam, as it will bear the weight of the skirt.
Step 6: Insert the Closure
If using a zipper, sew it into the back seam. If you're doing a laced back, you will now mark and install the grommets according to your pattern instructions.
Step 7: Final Finishes
Hem the skirt to your desired length. Add any final decorative details like lace trim, ribbon bows on the sleeves, or buttons. Give the entire dress a final, thorough press with the iron.
Tips for Nailing the Cottagecore Vibe
- Fabric is Everything: Don’t underestimate the power of your fabric choice. A floral quilting cotton will give you a different vibe than a solid linen.
- Details Matter: Add lace trim to the neckline or hem, use satin ribbon for lacing, or add ruffles to the sleeves. These small touches elevate the aesthetic.
- Get the Fit Right: The bodice should be snug and fitted, while the skirt should be full and voluminous. Check your measurements and consider making a muslin (a test garment) if needed.
- Press Your Seams: This is the most important tip for a professional-looking garment. A well-pressed seam is a beautiful seam!
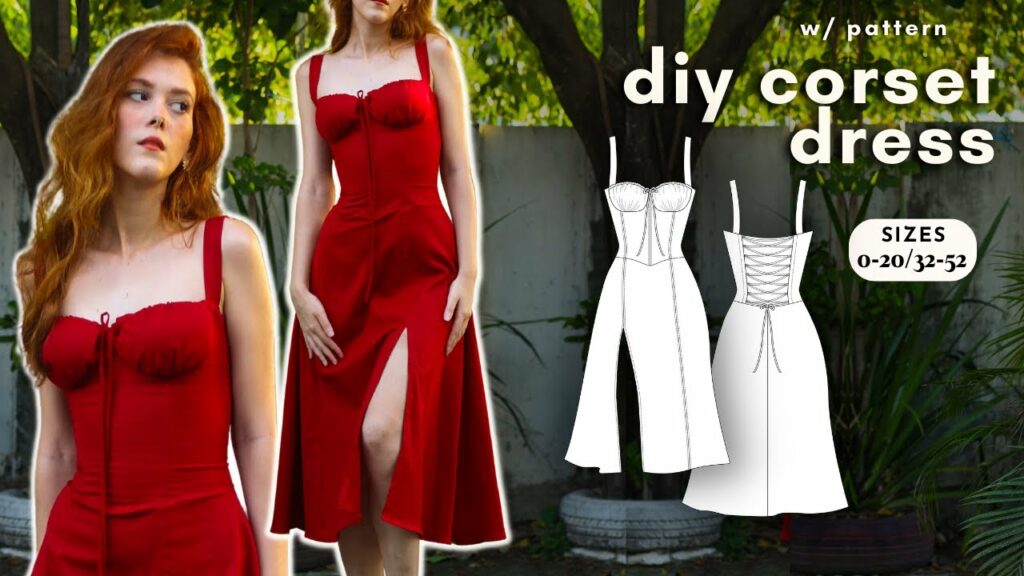
Creating a DIY Cottagecore corset dress is a delightful journey that results in a one-of-a-kind garment. With the right pattern, a little patience, and these guiding tips, you can bring your whimsical fashion dreams to life. Happy sewing!
Video Tutorial :
.jpg)


No comments:
Post a Comment